

If you’re an amateur mountain biker, one thing you may want to know is how to adjust hydraulic disc brakes on your bike.
Hydraulic disc brake systems are found in most high-quality mountain bikes. Unlike mechanical disc brake systems with rim brakes, the entire brake assembly is remarkably technical.
In most cases, beyond simply adjusting the hydraulic disc brakes in your mountain bike’s system, most other tasks are best left to professionals.
As such, you may want to find the business cards of expert bicycle repair shops if you want to replace the bike’s old automotive brake fluid with fresh fluid. These professionals know the best type of fluid to use and have all the tools needed to carry out the process without damaging your bike’s brake mechanism.
What are Hydraulic Brakes?
Before learning brake hacks for adjusting your hydraulic brake assembly, you should first know how hydraulic brakes work.
Most brands use a set of metal disc brake calipers to push the disc brake pads against the brake rotor when activated.
Unlike cable-actuated disc brakes where cable brake lines are used to initiate braking, hydraulic fluid is used here. As such, everything from the brake pad pistons to the entire caliber body functions more efficiently.
Are Hydraulic Brakes Better Than Other Brake Systems?
To start with, hydraulic disc brake systems activate faster than most others. In addition, they offer a greater advantage to amateur mountain bikers.
With hydraulic disc brakes, the braking surface doesn’t matter as much, so you can go out riding in wet weather, wet conditions, and even muddy conditions without fear of suffering brake woes or brake failure. The brake power gives you considerable traction, regardless of tire width.
However, hydraulic brakes like the Shimano hydraulic disc brake levers have a higher price point than their counterparts. But for many, the awesome disc brake benefits they offer are worth it.
Before delving into how to adjust hydraulic disc brakes on a bike, take some time to know the parts of the brake. That way, there are fewer chances that you’ll make a mistake somewhere along the way.
For this guide, we’ll be using Shimano hydraulic disc brake levers as an example. As a brake manufacturer, the Shimano name is quite popular and they’re the go-to brake makers for many bikers.
Basic Parts of the Shimano Hydraulic Disc Brake Levers
The Shimano hydraulic disc brake levers are broadly broken down into four basic parts:
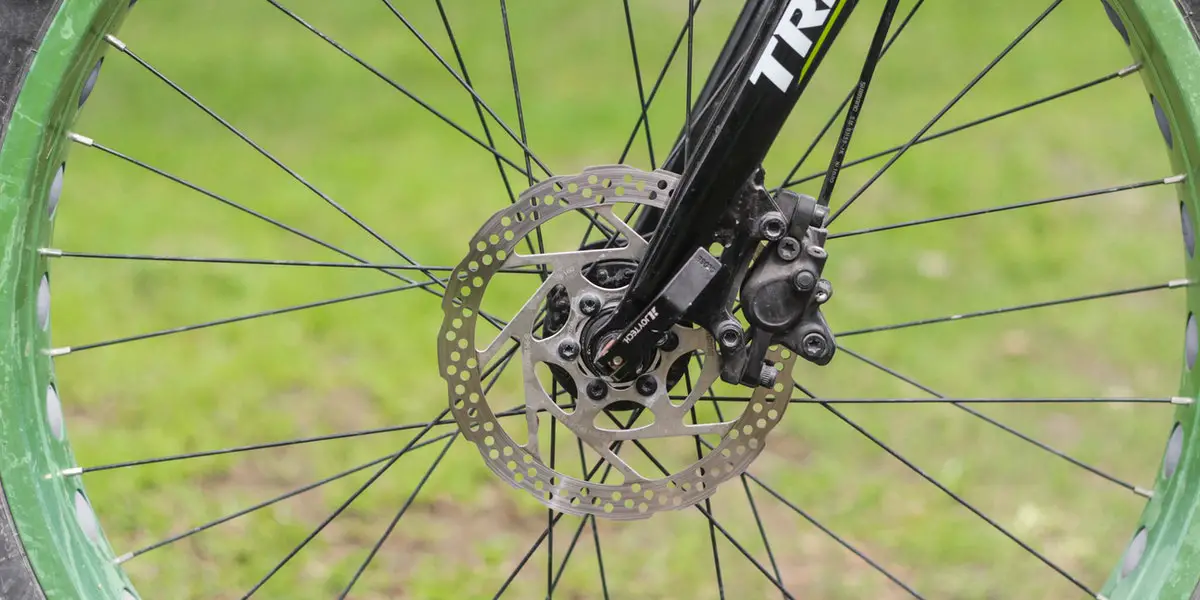
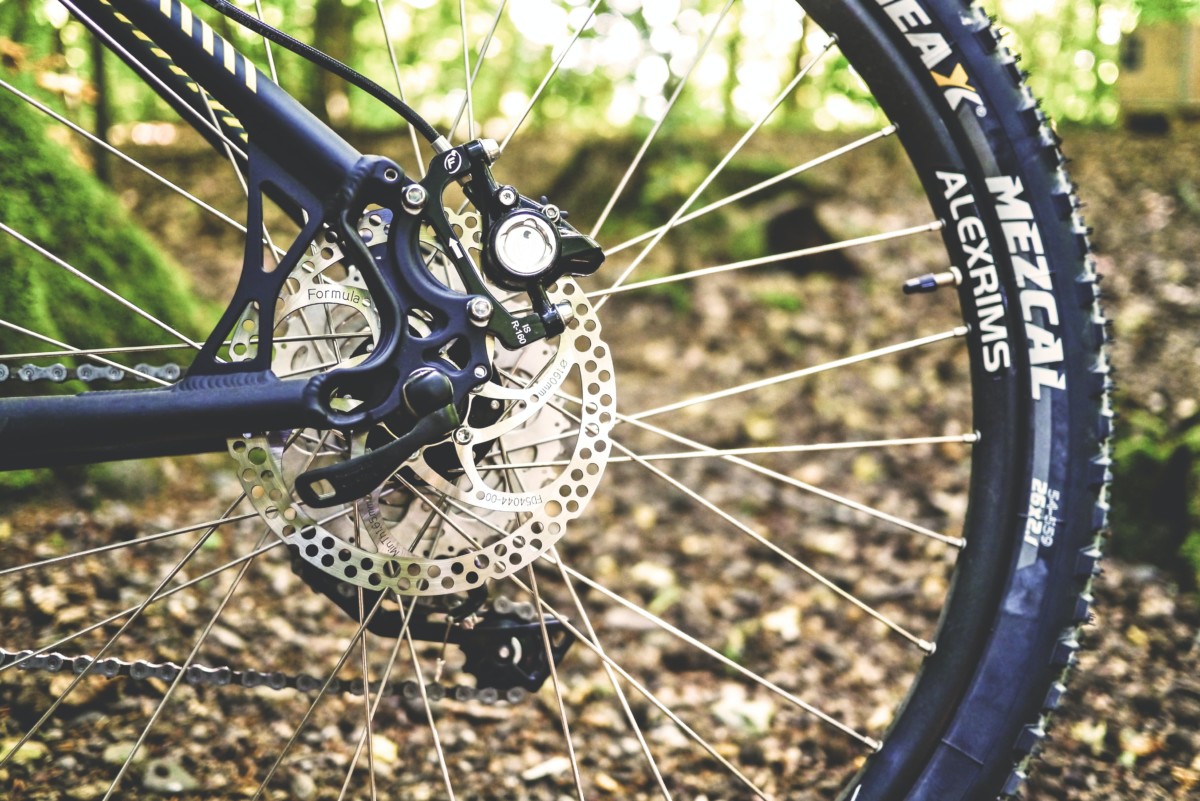
- The disc brake rotor
- The brake calipers
- The brake pads
- The oil tube
The screws on this device play an important role in how the system operates. So, we’ll be highlighting the major screws to be found in the Shimano hydraulic disc brake lever.
- Mounting bolts
- Adjusting bolts – to adjust the distance between the rotor and both sides
- Brake pads bolts – to serve as brake mounts and adjust the brake pads
- Brake fluid bleed port
- Compression fixing bolts to seal the brake housing safely into the lever and caliper body
Let’s get into the adjustment of your hydraulic disc brakes and the tools you need for the job.
Tools For Adjusting Hydraulic Disc Brakes
All you need for this process is:
- A hex wrench or an adjustable wrench.
- An elevated bike stand
How to Adjust Hydraulic Disc Brakes on a Bike
Here’s a simple 6-step guide you can follow to adjust your hydraulic brakes, get a centered position and prevent brake pad wear and brake rub issues!
Step 1 – Position Your Bike on the Elevated Bike Stand
To gain better access to your hydraulic brakes, carefully place your bike on the bike stand. Ensure that you have enough room in the work area to move around the bike freely.
This is important because you’ll need to work with your handlebars as you adjust the brakes.
Step 2 – Use Your Hex Wrench to Unfasten the Bolts Outside the Brakes
Outside your brake, you’ll notice 2 mounting bolts. Use your hex wrench or adjustable wrench to turn these in a counterclockwise direction to loosen them.
Do not remove the entire brake assembly. Just loosen the bolts so that you can wiggle the internal brake mechanism. If the adjustment process isn’t done properly, it might cause a caliper alignment issue.
Step 3 – Squeeze the Brake Lever Body on the Handlebars
To get the brake caliper pistons into a centered position, you need to squeeze the brake pads on your bike to realign the calipers. This is necessary to center the calipers over the brake rotor.
Step 4 – Rotate Centering Bolts if Brake Levers Still Don’t Align
In cases where Step 3 isn’t enough to get the proper caliper position, you need to rotate the centering bolts. If this still doesn’t work, use a hex wrench to turn the centering bolts while holding the calipers in place.
Step 5 – Release Brake Lever and Test the Wheel
Next, release the lever to check for a brake rubbing sound. Make sure to give the tire a good spin and listen for any rubbing sound.
Also, check for any scraping or metallic sound as well. If you hear any of these sounds, adjust the centering bolts again. The sounds will stop when the rotor is evenly rested on the brake pads.
Step 6 – Tighten and Secure the Bolt Mounts
Lastly, use your hex wrench to tighten your mounting bolts in place. Ensure that your brake assembly is firmly in place.
Now, take the bike for a test run. If you don’t notice any issues, you’re all set!
Conclusion
When you know all about adjusting hydraulic disc brakes on a bike, caring for your mountain bike becomes much easier. Now that you know the basics of adjusting your hydraulic brake system, you can take your bike out without worries!
If you’d like to improve your bicycle riding experience, then click here to learn more!