Riding a bicycle is a great way to relax and exercise. But sometimes, your bike’s freewheel can get damaged. If this happens to you, you might want to be prepared to remove the freewheel and replace it with ease.
While this is a relatively simple process, removing a freewheel the wrong way could further damage your precious bicycle.
To prevent this, this extensive guide will be your lifesaver, and you will be able to tackle this last-minute trouble with ease.
Understanding the Setup of Your Bicycle
Depending on the bicycle you use, there are different types of the freewheel. Due to this, there is usually a difference in how the hub, also known as the cassette hub, is connected to the rear cogs in this system.
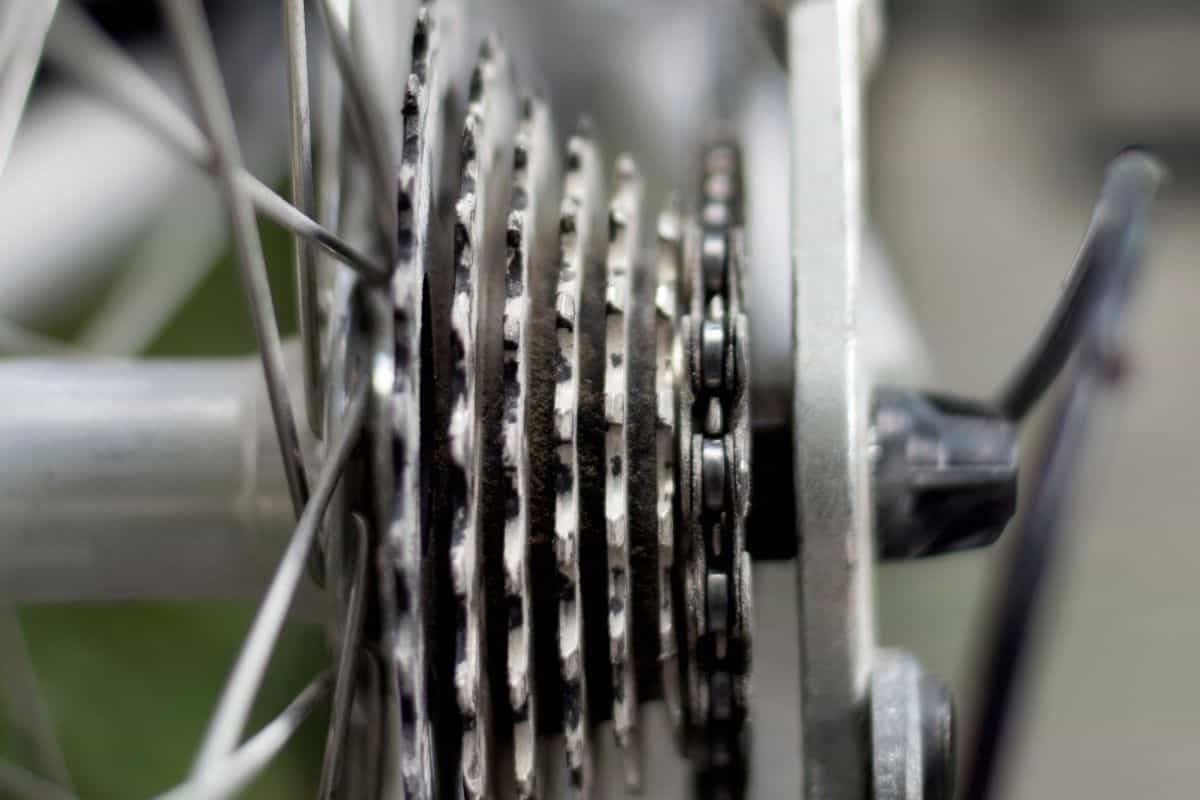
A typical cassette hub comes with a free hub system. This particular clutch is connected to the hub of the bike.
The ratcheting mechanism formed from that cylindrical structure moves in a counterclockwise direction for coasting. However, it locks clockwise when the bicycle is pedaled. The sprockets then move over the series of splines.
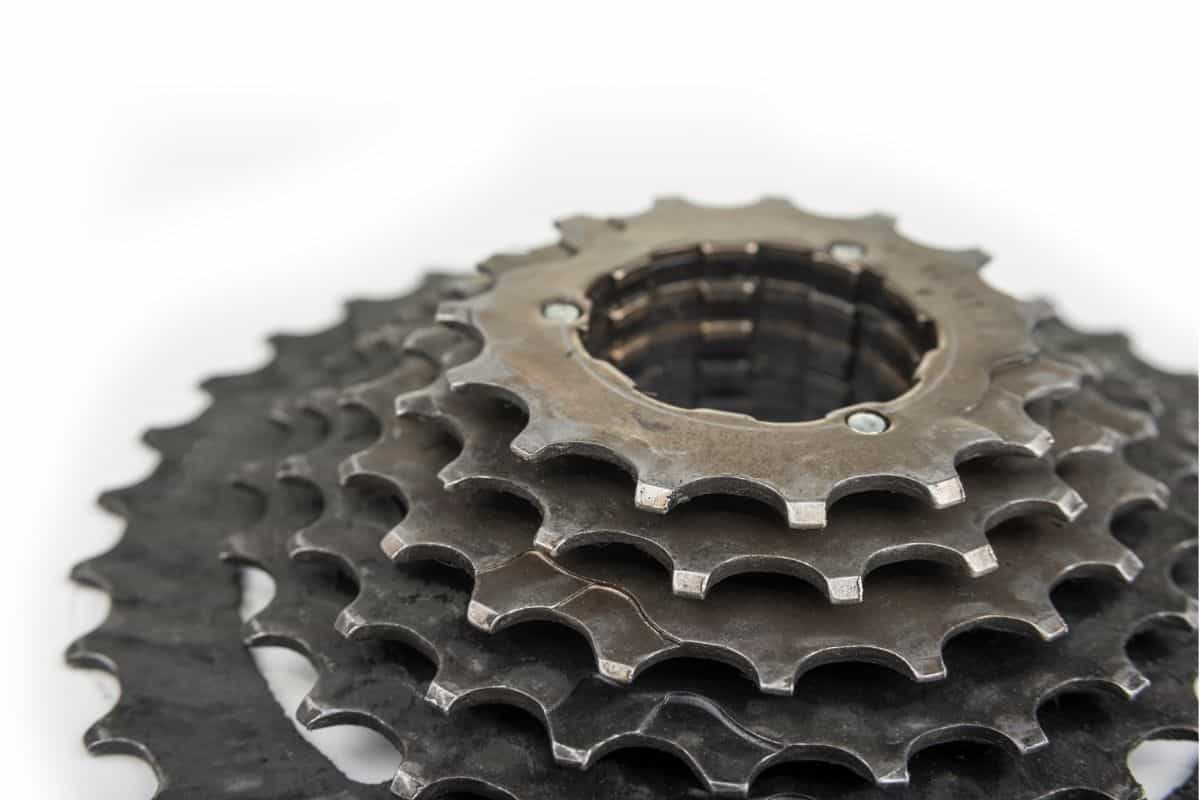
Lastly, the lockring threads through the freehub body and hold the 4-sprocket freewheels or cogs firmly in place. That way, after removing the cogs, your ratcheting mechanism remains connected to the freehub body.
There are some things to keep in mind if you want to remove a faulty freewheel with ease.
Modern Model Bikes
Only a precious few modern bicycles don’t possess a freehub body system as described above. Due to the efficient nature of the mechanism, most modern bikes operate this system.
Old Model Bikes
For old models, one massive external thread runs into the body of the hub. As such, the union of cogs and the ratcheting mechanism is jointly referred to as one freewheel. This is what threads unto the hub.
Consequently, when the freewheel unthreads for removal, the ratcheting mechanism is displaced or removed with its cogs.

Removing Freewheel With The Correct Tool
The first step to avoiding errors when removing a freewheel is to select the right removal tool. If you don’t use the correct tool for this process, you may damage the entire system.
This is more so the case when you are dealing with a Shimano HG & Sran Gear cassette. Due to how similar it looks to Falcon freewheels, some people make a mistake removing it.
They can use the 40mm diameter FR-7 Falcon to try to remove Shimano single-speed freewheels. Avoid this if you can as it may seriously damage your setup.
Quick Guide to Ensure You Use Freewheel Compatible Tools
- Park Tool Freewheel Remover FR-1.3 – 12 splines Shimano, Sun Race, and Sachs Bicycles
- Park Tool FR-2 Freewheel Remover (2 notches, 25mm diameter) – older Suntour two-notch freewheels
- Park Tool FR-3 Freewheel Remover (25mm diameter FR-3 Suntour) – Suntour Bicycles with 4 notches
- Park Tool FR-6 “Our FR-6” BMX Bicycles – Park Tool BMX freewheel remover
- Park Tool FR-7 Freewheel Remover (40mm diameter FR-7 Falcon) – Falcon brand freewheels
Other options available include the EZcross bicycle freewheel remover for French freewheels, Japanese freewheels, Regina freewheel body remover, and the 5-7 speed freewheel brand, among others.
Keep in mind that if you’re using a cheap freewheel body, the entire wheel will become unusable, regardless of the quality of the remover you use.
This is due to the shallow removal notches these items tend to have. A shallow notch may be easily destroyed during the removal process.
In addition, if the freewheel body and freewheel counter aren’t of adequate design, you could end up destroying not just the freewheel but the removal tool as well.
How to Remove a Freewheel
Here’s a simple 7–step guide you can follow to remove any freewheel with ease. Having selected the correct tool, here’s what to do.
Step One
Mount the bike in a suitable stand for repairs, remove the rear wheel, and unfasten the skewer and its nut.
Step Two
Examine the freewheel center, make sure it is free of damage and select the right remover tool and apply it to the notches or splines. If the notches are shallow, they may not allow enough grip.
Step Three
With the rear wheel still removed, reinstall the skewer and its nut on the outer body. If it’s a solid axle-type, gently use the axle nut and firmly grip the freewheel tool.
Step Four
Push the skewer nut to the remover, using it for holding the remover.
Step Five
Keeping the tool firmly in place, turn the remover counterclockwise with an adjustable wrench. The average park tool freewheel remover will support the chain whips. With chain whips like these, it’s easier to apply pressure and rotate your freewheel in the right direction.
Step Six
Make sure you turn the remover counterclockwise once. Next, loosen the skewer and then move it. You can then proceed with removing the freewheel.
Step Seven
Keep turning the remover in the same direction until the freewheel is finally unthreaded from the hub. When it finally comes loose, simply lift the freewheel from the hub threads and you’re done!
How to Install a Freewheel
When buying a replacement freewheel, make sure you check everything from the product description to breakdown by star rating and Amazon fulfillment process for it. This is one of the few ways you can ascertain product quality.
Once the stock order has been placed, you can carry out other activities like selecting your delivery location and shipping address before you drop your credit card details for payment.
When you’ve handled these details and your preferred freewheel has arrived, you can start fixing it with these steps.
Step 1
Lubricate the inside mounting of the threads of the freewheel thoroughly and lay the wheel on a bench and hold it flat. Make sure the freewheel is held such that the cogs are parallel to the rim.
Step 2
Make sure the axle is properly centered in the hole of the freewheel. Repeat this process until it is perfectly aligned and not cross-threaded.
Step 3
Use your hand to start threading the cogs clockwise until the freewheel is fully threaded. Make sure you don’t use excessive force for this.
If you encounter resistance, remove it and try to get a better thread alignment.
Step 4
Use chain whips to fit the cogs tightly by turning them clockwise.
Step 5
Make sure you check all the adjustments to the rear derailleur. Now you are ready to go!
Conclusion
While the process of removing a freewheel and reinstalling it may be hectic, the joy you get from fixing your beloved bicycle yourself is indescribable! What’s more, because you’re deeply involved in the repair process, you are assured that quality isn’t compromised and your bike gets the best service.
So what are you waiting for? Repair and install your freewheel today!


